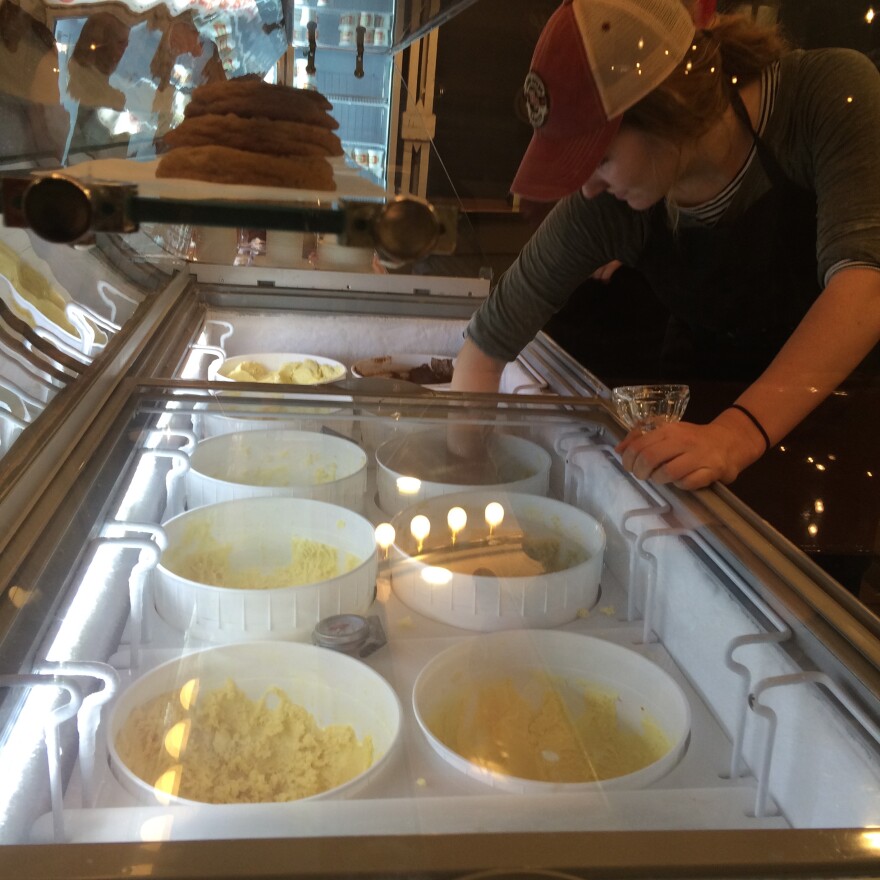
Since early 2015, Heritage Creamery has sold its homemade, locally sourced ice cream at the downtown Waco farmer’s market. But for about a month now, it’s operated out of its new brick-and-mortar location. KWBU’s Carlos Morales visited the shop to see how their ice cream goes from prepping to serving.
Nestled in the back corner of the newly renovated building Heritage Creamery now calls home – is its kitchen. It’s a quaint operating space that’s shared with Milo Biscuit Company. On the day I visit, the sounds of pots and pans fill the air, as general manager Dustin Patterson and a crew of kitchen staff are preparing to make Brown Butter Pecan – a staple on their menu.
But this isn’t your elementary school ice cream, made with plastic bags, ice and rock salt. Each batch of this ice cream is home made with locally sourced . Patterson explains:
“We could’ve done it the way where you buy a pre-made base off of a truck that mass distributes that stuff and buy flavorings to add to it, and we could’ve churned ice cream in house even and that would’ve been cool", Patterson said. "But we make everything from scratch because we wanted to do it the best way we could possibly do it, and this is the best way to possibly do it. It’s much more difficult, but it’s totally worth it."
In that homemade process there are 3 distinct stages. First: making a base for your ice cream. This is where you bring together all your dairy and flavoring, says Sam Davidson. He’s worked with Heritage Creamery for about a year now.
“To bring out the really nutty, rich taste of the brown butter, of the butter we obviously brown it", Davidson says. "That basically boils off the water in the butter, brings out a lot of the fats and proteins into a nutty flavor, adds a complexity to the flavor that goes really well with the pecans.”
In a separate pot the dairy products and eggs and heated up. This pasteurizes the base, killing any bacteria that may be present. But heating it up also allows for the hot brown butter to blend into the dairy easier. After the base is prepared, it’s strained and then placed in an ice bath in the walk-in to cool for several hours. This step, Davidson explains, allows the proteins and sugars in the base to mature and to make for a creamier texture.
The next step: Churning.
“[I]t goes in the machine. The batch freezer that whips it up, churns it, makes it airy light, and, uh, partially freezes it. It comes out kind of like soft-serve."
For this particular batch, the now chilled base is poured into a batch freezer and churned at a steady 165 rotations per minute. Now depending on the density of the ice cream, this step could take can take anywhere from 8 to 15 minutes.
From here, the ice cream enters its final stage. It needs to be placed in a hardening cabinet (essentially a freezer that can drop the ice cream’s temperature down to about -20 to -25 degrees). The crew here affectionately refers to their hardening cabinet as the “James Harden"-ing cabinet. (For those basketball, or Rockets fans reading this, I hope you enjoyed their pun).
The idea behind this step, Patterson explains, is to freeze the product and to make it firm in short a period as possible so that water molecules don’t join together into larger ice crystals. The idea is to highlight the “cream” part of ice cream, not so much the “ice”.
“Then once its there it’s too hard to serve at this point so we move it over to our holding cabinet to get it up to serving temperature for the next day. So it really is at least a 3-day process", Patterson said.
That’s at least 3 days, 3 steps, 65 eggs for each batch of ice cream, or roughly 3,500 each week, with each batch yielding about 6 and a half to 7 gallons of ice cream. But all things considered, Davidson says it’s a simpler process than he would’ve originally thought.

